Thumb Piano


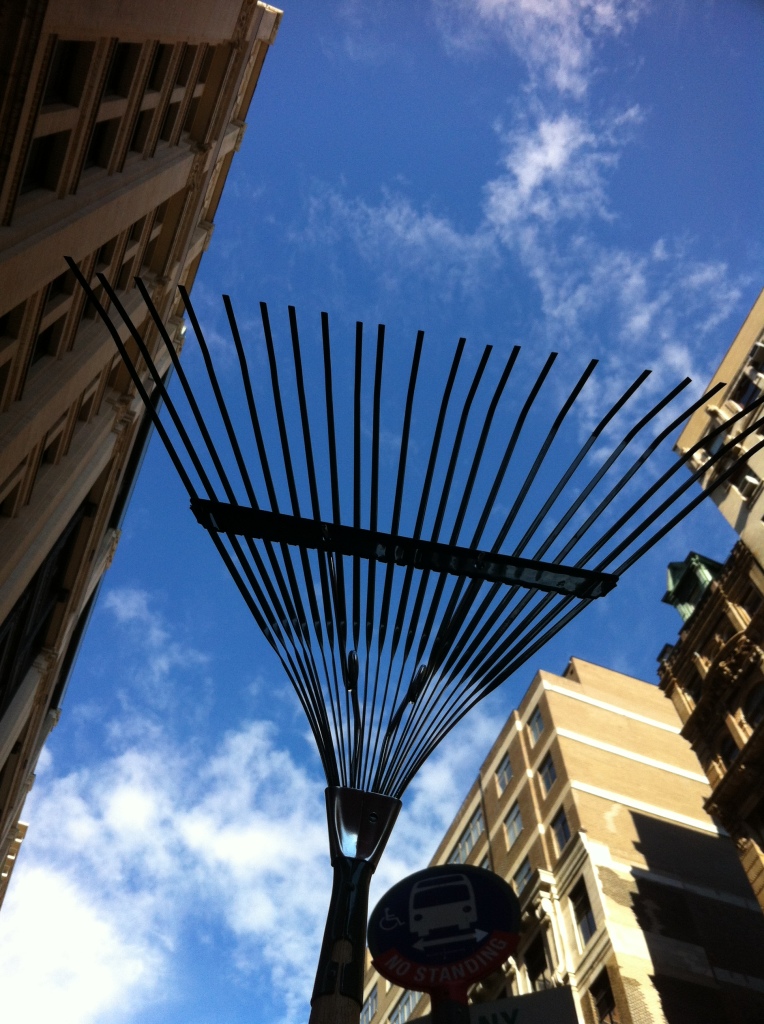
I made a thumb piano / kalimba / mbira / sanza / likembe / lamellaphone / out of tines from a sprung steel rake. It was very difficult to find a rake, since most people don’t have anything to rake here in NYC. I tried Home Depot, Ace Hardware, a few small hardware/home/garden shops and finally found one at Garber’s Hardware. I took a 20 minute walk with rake in hand. Along the way, I picked up a bike spoke which would come in handy later. I knew because I was following some good directions.

2014-10-16 15.18.38

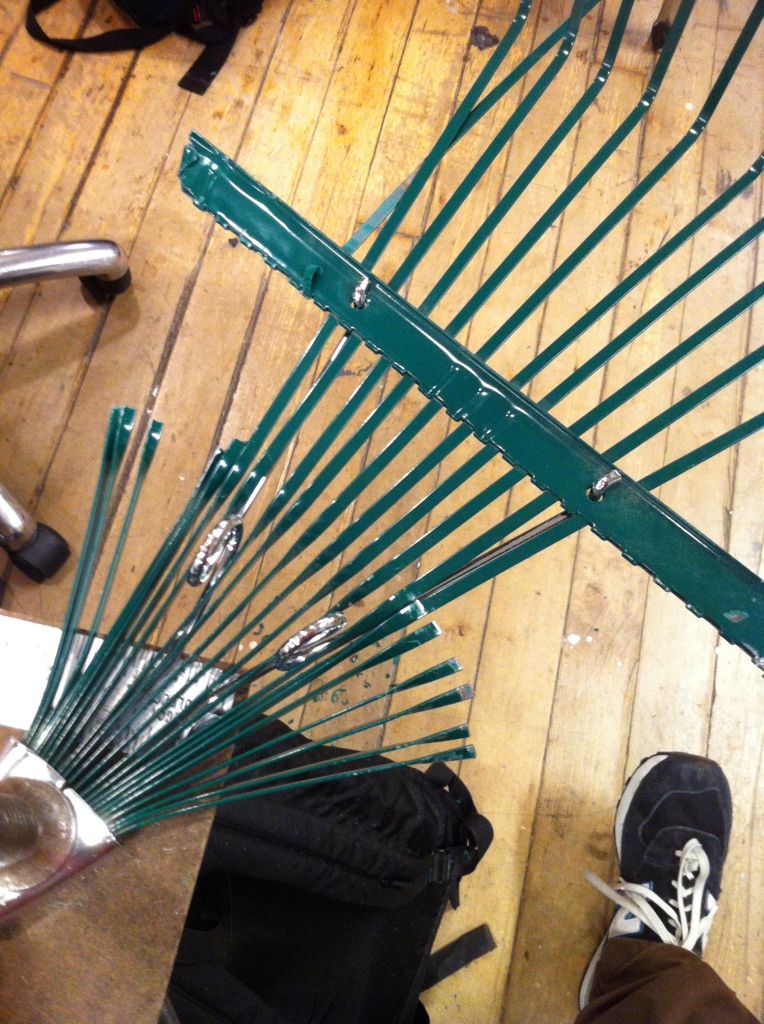
I hacksawed off some tines, and they were very difficult to remove. I had to strip the paint off to slide them through…

2014-10-16 16.11.42

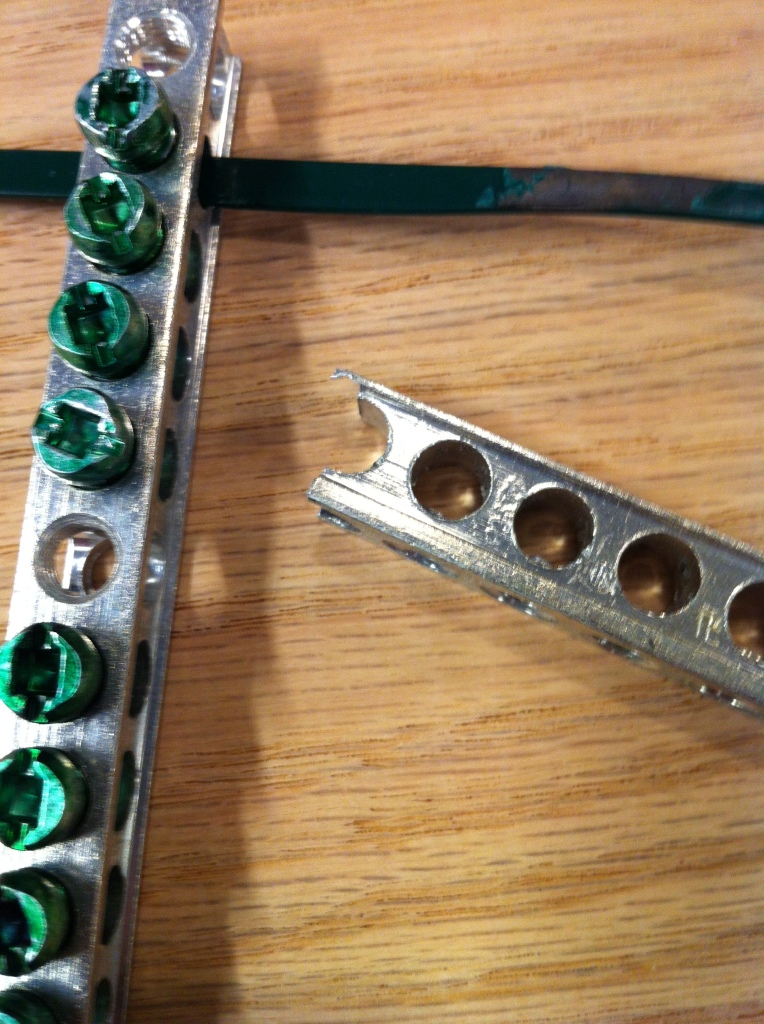
I picked up this electrical grounding bar with set screws that could be used to secure the tines and easily adjust their tuning. I used the metal saw to chop off the terminals I wouldn’t use (it had 21). Unfortunately it only has two spaces for screws that can fasted it to the base (a block of oak wood, in this case). And those two spaces are on the far left side, leaving the spaces on the far right slightly unsecured and buzzy. I’d like to do something about this eventually. But anyway…

2014-10-16 16.44.45

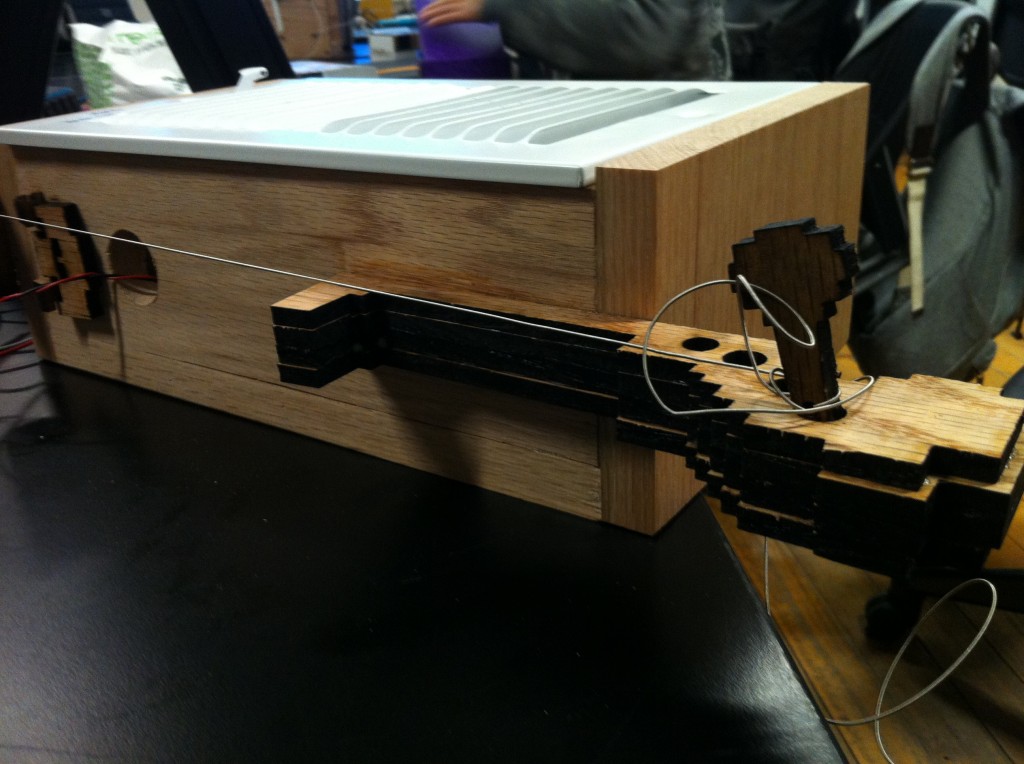
The bike spoke sits in the bridge and the vibrations of tine against this metal spoke help enhance the vibrations.

2014-10-16 17.19.10

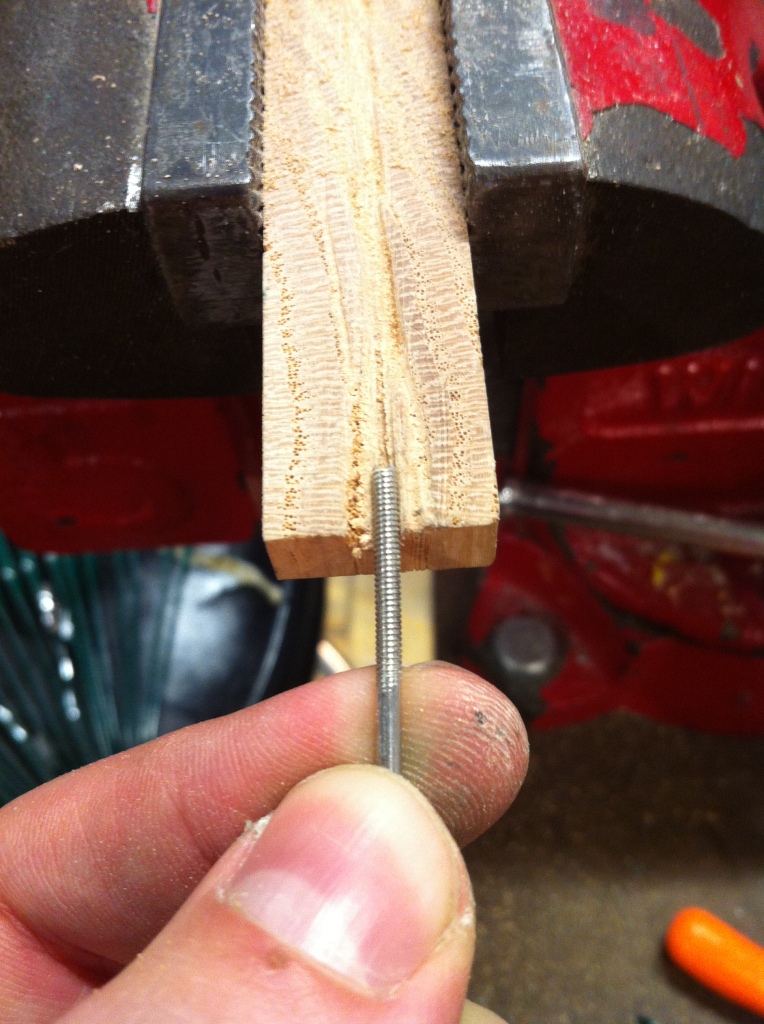
I borrowed some glue to secure the bike spoke after filing space for the bike spoke to sit.
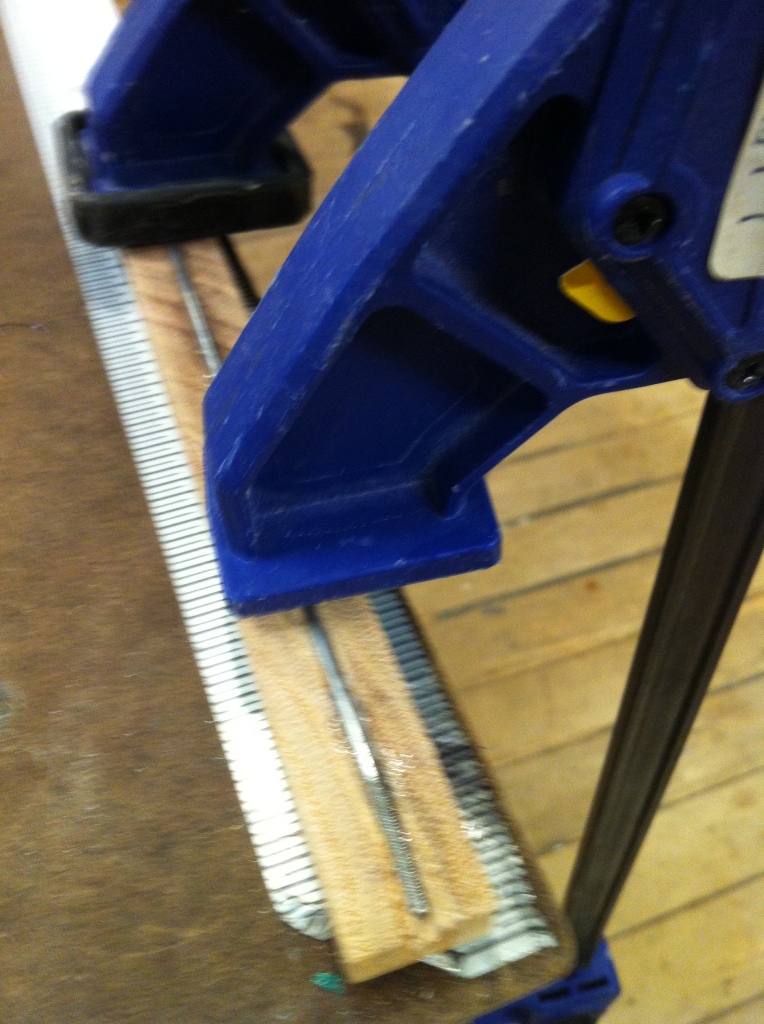
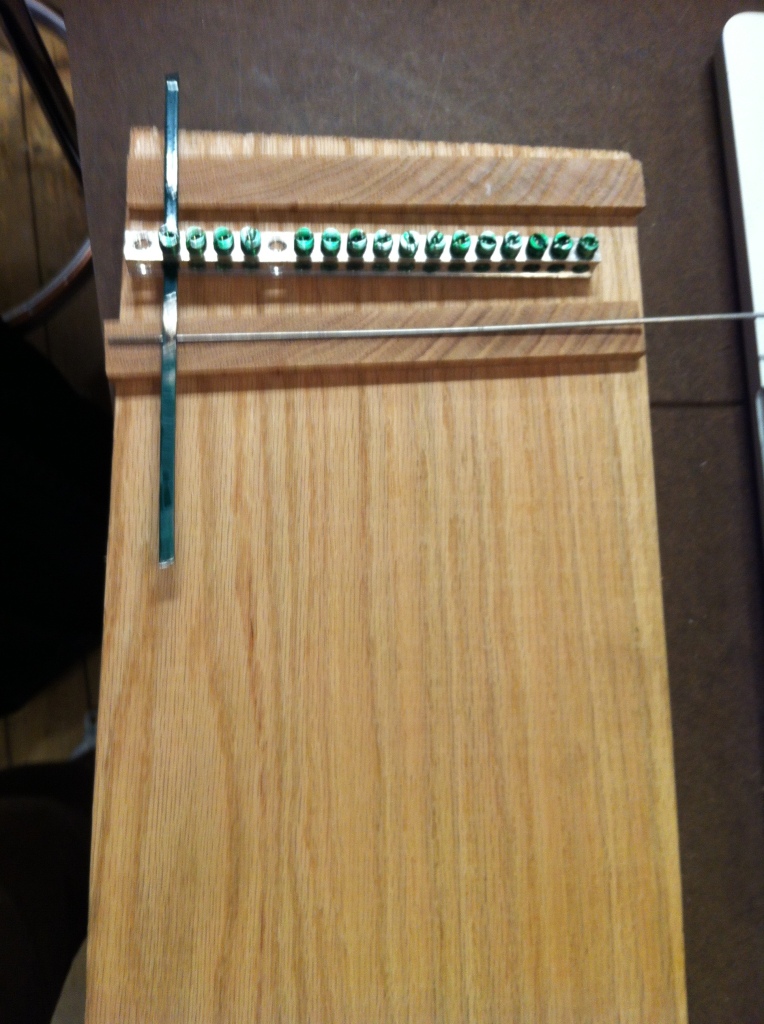
2014-10-16 23.14.45I experimented with placement of two blocks of wood on either side of the set screw terminal, using a tine to try to determine where I could get the best tension…

2014-10-16 17.01.08


I secured the wooden pieces with self-drilling screws and they are so thin (and 1/4″) that one of them snapped because of the tension. But it’s ok for now…and here’s where I’m at so far! I haven’t really tried to tune it yet just messing around with tones/overtones that sound interesting…

Inspiration:

Instructables Set Screw Lamellaphone

Kalimba Magic

Bart Hopkin’s book Musical Instrument Design
Next: Overtone Tuning in Lamellaphones

Lamellophone

I’m going to make a thumb piano.

I’m planning to use:

– metal tines from a rake, or spring-tempered steel from here. The tines will average less than 10cm and I’d like to have 12 of them, which would make 120cm or about 4 feet.
– resonant wood (I’ve been saving my oak)
– bike spoke
15 terminal grounding bar with 3 spots to mount to base

I’m reading Bart Hopkin’s book on musical instrument design and looking here for some guidelines.

Some notes:

Frequency = A/Length^2 where A is some value of the material itself.

Overtones: “you can make the fundamental more prominent and increase sustain by creating a tongue shape with more mass toward the end or, equivalently, thinning it near the base (which also, of course, lowers the pitch)”

Sheet Metal + Oak

This week’s prompt was to make anything out of any two materials. I was overwhelmed by the options. I couldn’t pick two materials, let alone decide what I wanted to make. Ideally, the concept should come first. I had a bunch of ideas, but couldn’t commit to one. Instead I decided to let the materials guide me. I settled on sheet metal and oak, thinking they could be used to make some sort of instrument, perhaps as research for my NIME project.

When I approach fabrication, it’s important for me to feel that whatever I’m making will be useful. I fear wasting resources on something that I won’t actually use. Of course, I learn through the process of making, so that’s useful. But I want to be able to take pride in the physical manifestation of the learning process.

This is not something that I feel when I’m programming. When I’m programming, I don’t need to worry about whether what I make will be useful, because it will not take up space in my blue bin. If I’m not proud of the final product, nobody else will have to see it. And if I spontaneously decide to incorporate some new element, I can download it for free in seconds. I can get away with these kinds of things in my creative programming explorations. But with fabrication, I’ve found that I really need to take time to sketch and outline a plan.

Unfortunately, I did not settle on any single plan this week. Here’s where that led: Continue reading

Enclosure

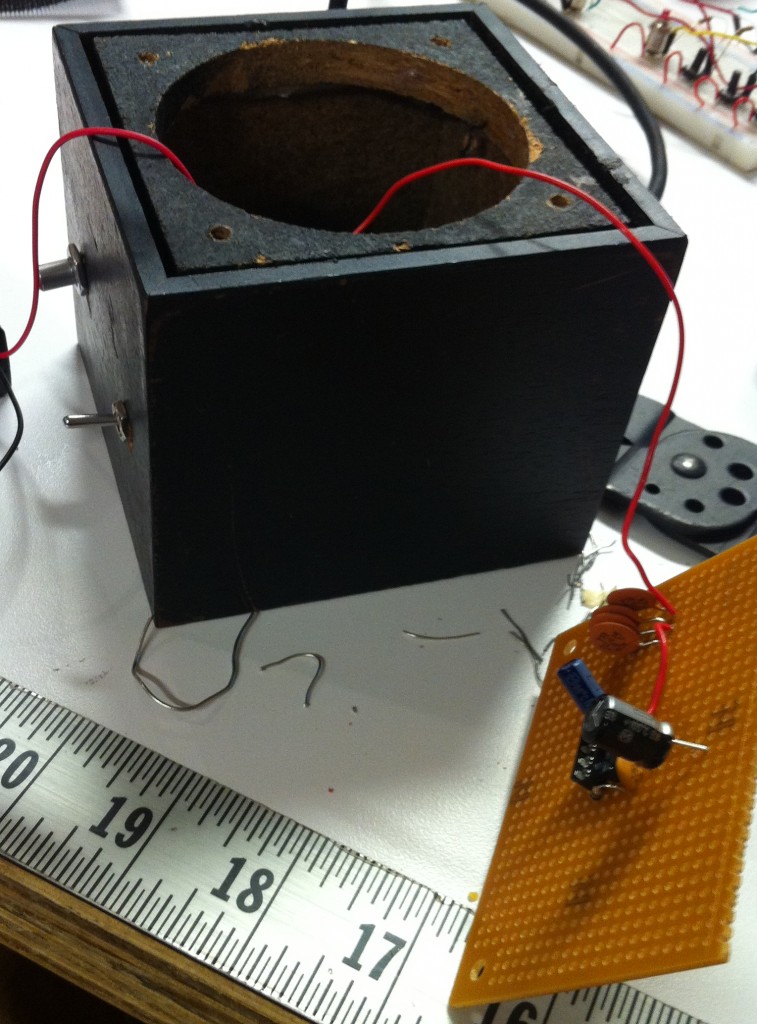
I set about trying to turn this radio shack speaker into a guitar amplifier by adding my an amplifier circuit, a gain knob, an input jack, and an on/off switch.

I thought that using an existing enclosure from the scrap shelf would be better than building my own, since I had some wood that was very thin and would probably have to glue it together anyway. It turns out this may not have been the best idea. The radio shack speaker’s enclosure was glued together, the electronics were glued too. It had a thick layer of particle board that I had to chip away to make room for my panel mount components. This also made soldering pretty difficult. I finished soldering the circuit but need to troubleshoot because it isn’t functioning just yet. Next time I will give myself more time and plan further in advance!


2014-10-02 20.25.23


Heating Gratetar

2014-09-23 21.38.28Heating grates sound great. I used to sit by them as a kid and strum metallic chords while basking in their warmth. It’s like campfire music.
At Home Depot, I found a heating grate. I played with it using my fingers, rubber, wood and metal drumsticks. They all sounded cool. I bought the heating grate.

Next I needed a box that could help shape the sound of the instrument. I bought a 1x48x5.5 plank of resonant oak wood, measured some sides, and cut with the chopsaw.

Continue reading

Multiples

This week I experimented with a different approach to Sonic Scrolls, where different colored blocks are placed beneath a camera and trigger different sounds.

2014-09-18 22.01.31

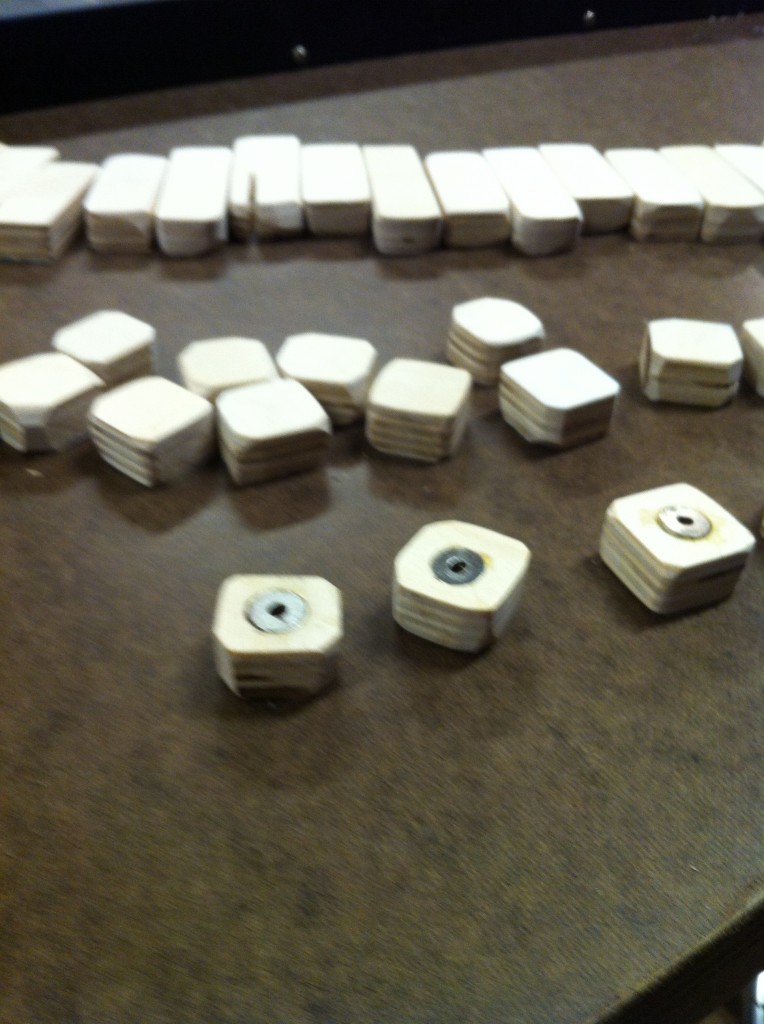
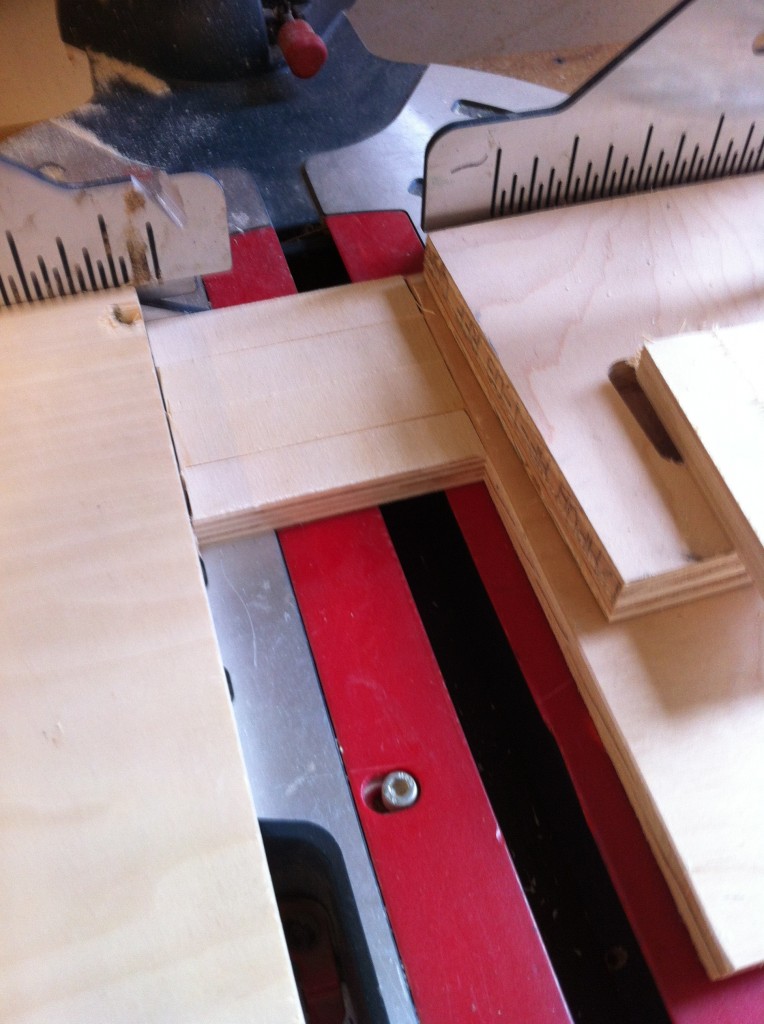
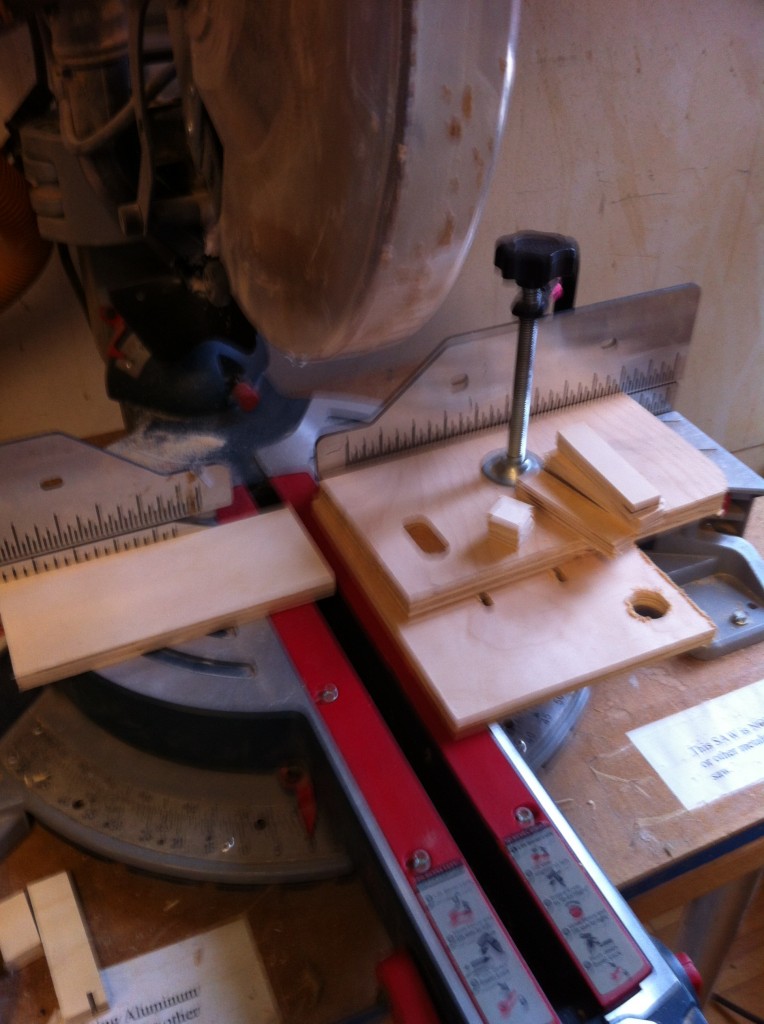
Our fabrication prompt was to make multiples, so I set about making a ton of blocks. I used the chop saw and stacked a couple blocks of wood to hold my measurement of roughly 2cm. It turns out that this is wrong:

2014-09-16 16.54.54So I steadied the piece with my hand rather than trying to sandwich it.
2014-09-16 16.50.59

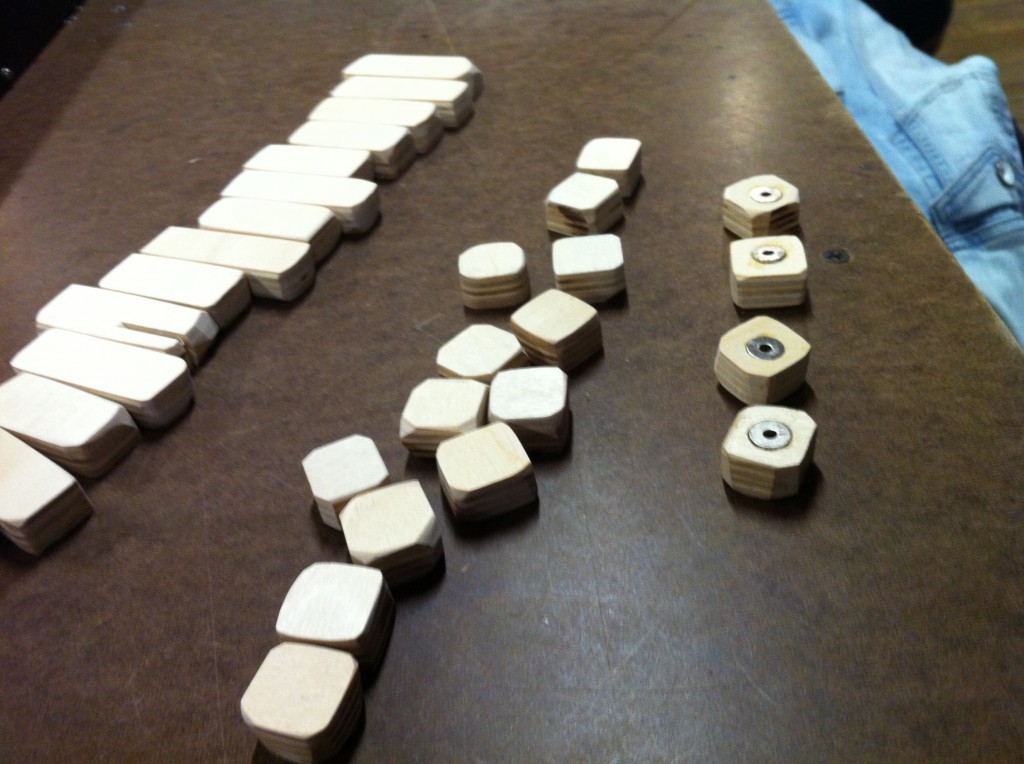
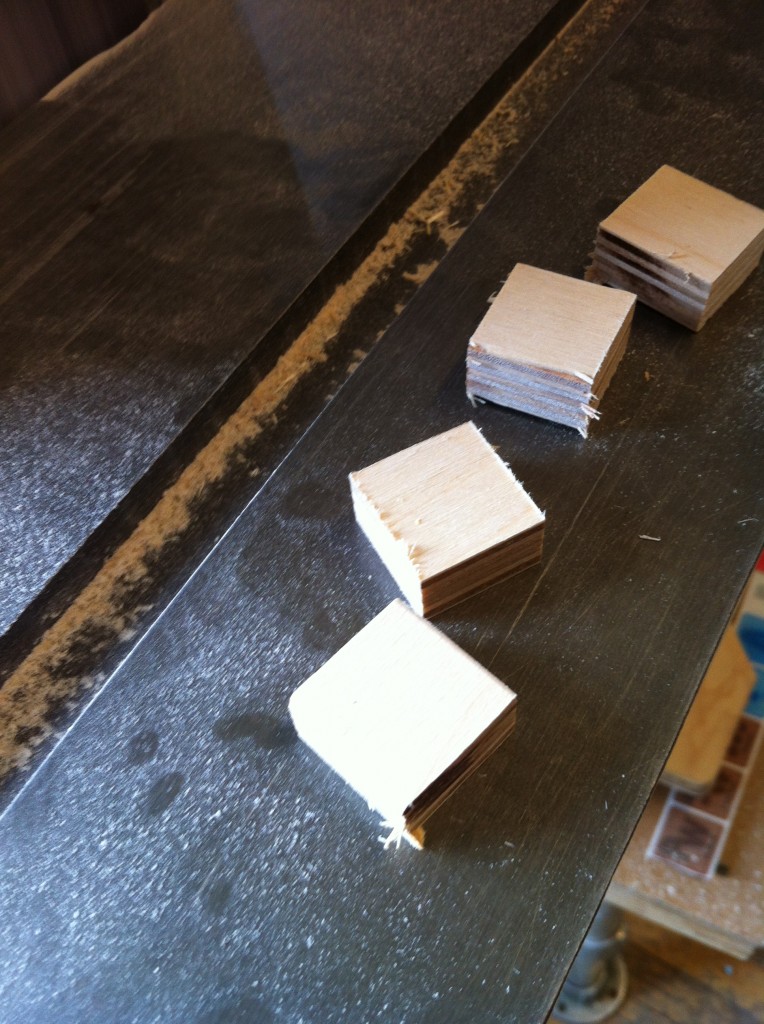
I made a ton of blocks…

2014-09-16 17.22.58Then I sanded them with the belt sander. I kept some longer pieces that I didn’t want to run through the chop saw.

I thought it might be fun to add magnets to the pieces, so I gave it a shot, but need to get the right epoxy.

2014-09-18 22.01.37

I started to color them, and considered buying some paint, but I’m not sure I want to use the blocks for this purpose anymore. I might try to use them as keys to a touch-sensitive musical keyboard instead…