In Sketching User Experience: The Workbook, Bill Buxton distinguishes between “getting the right design” (generating ideas and choosing the best) and getting the design right (refining that idea). Both are essential parts of the design process, both are iterative, and both involve sketching. For example, he advocates for the “10 plus 10” approach: first sketch ten different design concepts for the given project/scenario, and then sketch ten variations on the best design. I think this could be a cycle that just keeps getting more granular with each step.
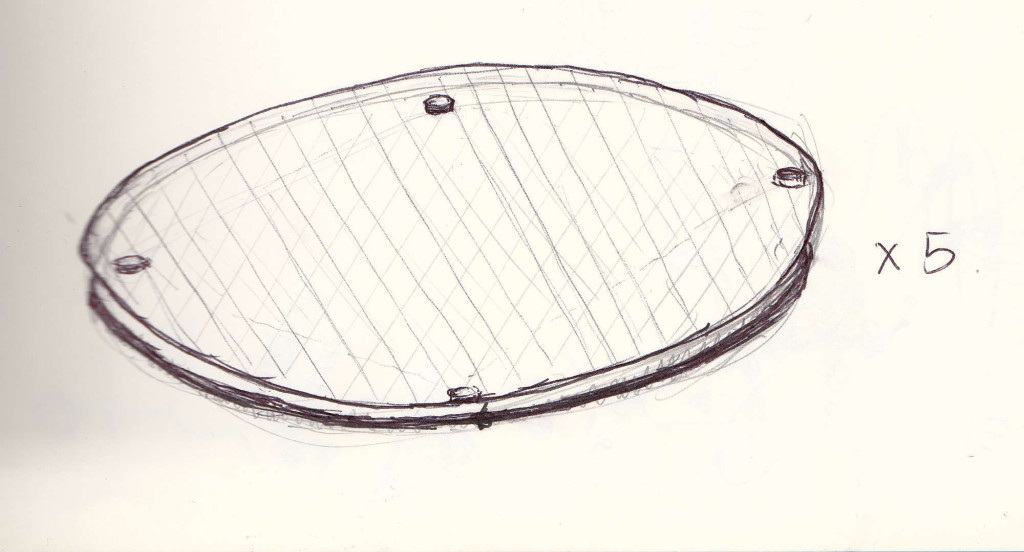
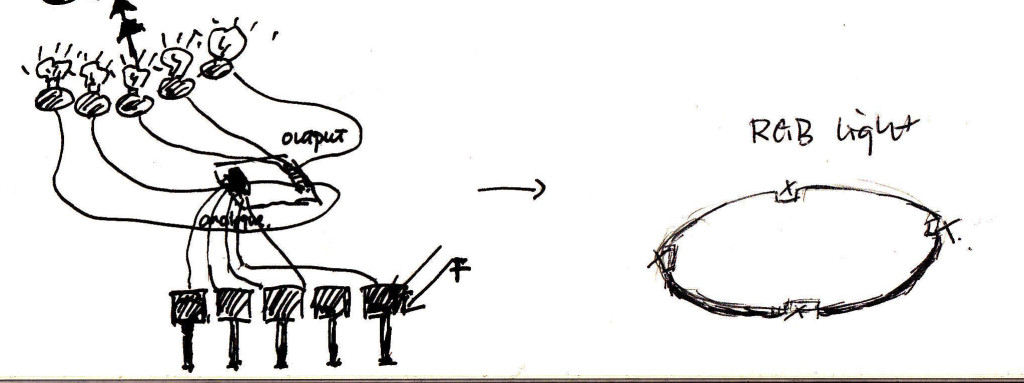
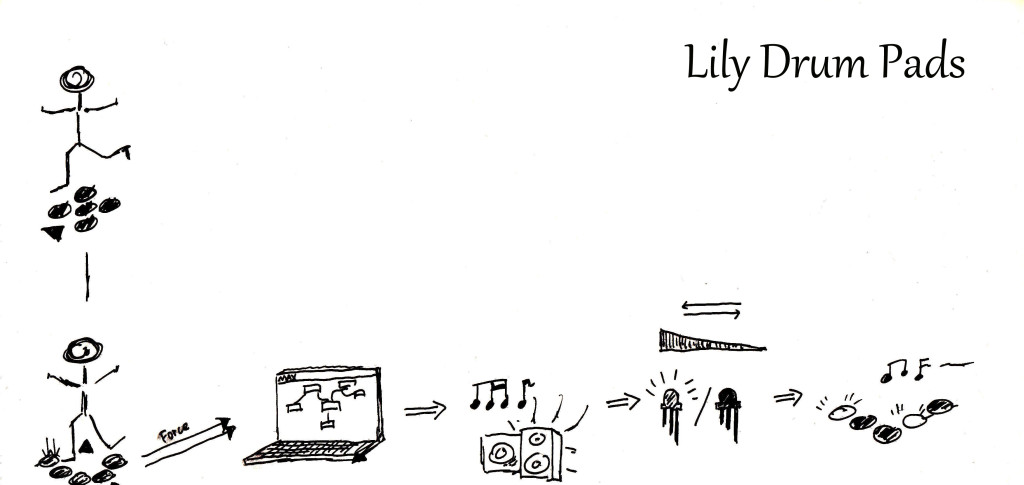
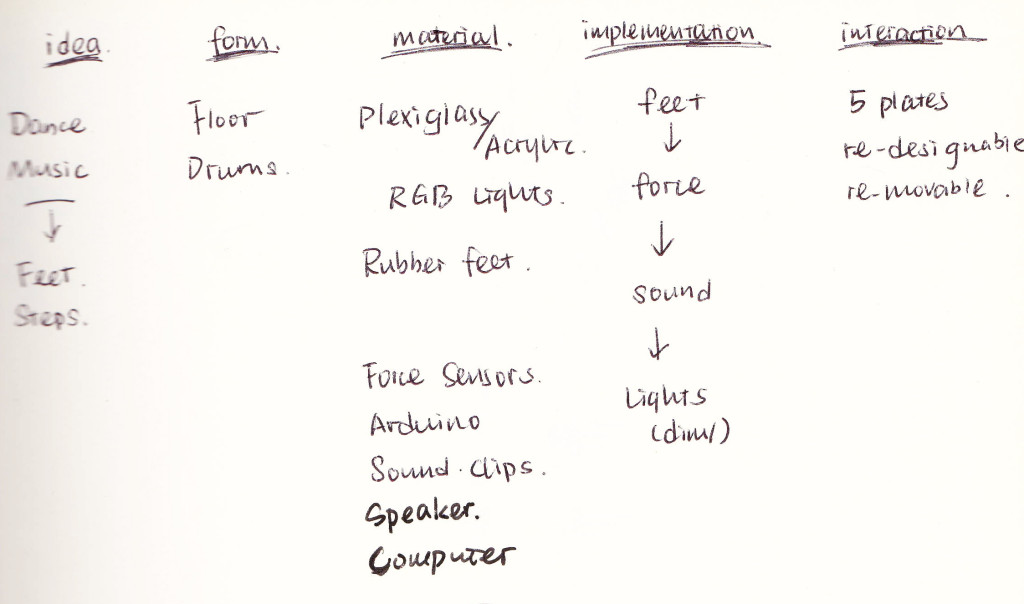
Meanwhile, Yiyang and I have been brainstorming a midterm project for Physical Computing. She’s been doing most of the sketching so far while I overcome my fear of sketching, and so far it looks something like this…
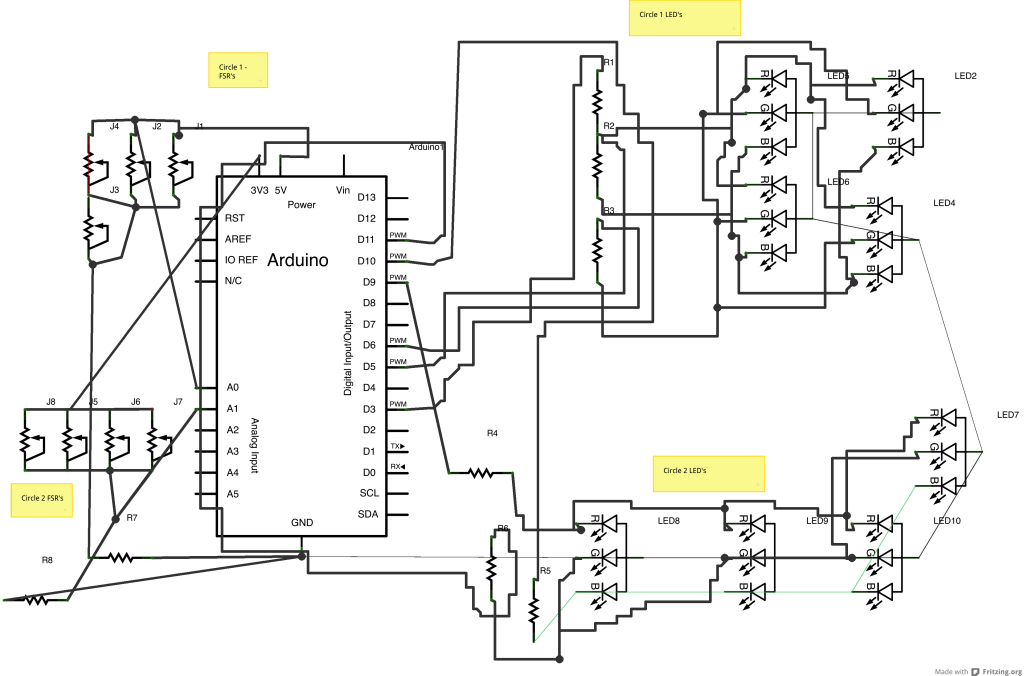
These are Yiyang’s sketches based on our ideas so far. Since I’m not so comfortable sketching with a paper and pencil, I thought I’d try to sketch the schematics on Fritzing, a computer program. This proved really frustrating because the cords got all tangled between the Breadboard view and the Schematic view. I’ll post what I have…
…but I think I should have just sketched by hand, and not thought about the schematics yet because we’re still refining our ideas. (However, it was helpful to look at the schematics for RGB LED’s to see that we can only have two sets of them with one arduino and six PWM digital spots…so if we want five sets we’ll need to expand our setup).
So I tried some actual sketching, following Buxton’s advice. It helped me think about the big picture. I’m inspired by the clear vision of the Happy Feedback Machine, right from the start, the vision drives the sketching. I think we need a clearer mission beyond just making cool sounds with a cool gesture. We need a unifying concept. Maybe what we’re working towards could be a “Step Sequencer.” You step on the pads to sequence sound samples as part of a loop. We could add a small square as the metronome as we loop record through one measure of music. Tap it to change the tempo. And when you’re happy with your loop, hit the triangle to change your instrument and add another loop. The loops could play back all at the same time, or in random combinations. We are still brainstorming, we have a lot of ideas and a wide range of inspiration.
If we do go this route, these are some of the materials we’ll need…
– Plexiglas (try Canal Street) to make shapes
– cork board –> it’d be cool if the bottom felt like it was meant to slide along the floor and be rearranged
– Rubber Feet http://www.mcmaster.com/#
– Force Sensing Resistors, maybe four in the big circles? http://www.digikey.
– RGB LED’s https://www.sparkfun.
